> ## Documentation Index
> Fetch the complete documentation index at: https://docs.juicebox.ai/llms.txt
> Use this file to discover all available pages before exploring further.
# Spott Integration Set-up
> Enable the two-way integration between Spott and Juicebox.
## About the integration
Juicebox's integration with Spott allows you to:
1. **Export Profiles to Spott**: Save profiles directly into Spott, including contact details, current company and job, profile URLs, and more.
1. **\[Configurable] Auto-Export:** Juicebox has the ability to auto-export profiles to your ATS with configurable triggers, including after shortlisting, after adding to a sequence, or after an interested response.
2. **Custom Integration Fields:** On some plans, integration fields can be customized further based on your preferred fields.
2. **Link Spott Jobs to Juicebox**
1. **Import Job Descriptions**: Import a job description from Spott into Juicebox to automatically kick off a search using the job description.
2. **Simplify Exports:** When exporting a profile from Juicebox to the ATS, it will automatically be connected to the correct job in the ATS. More details [here](/projects).
3. **View Profiles in Spott**: View profiles already in Spott within Juicebox. Avoid reaching out to the same profile twice, and instantly view your relationship history.
### Start a project via the Spott integration
Open the projects page and select **Import Job from ATS / CRM**. You will then see your Spott jobs and can select the corresponding option.
### Export profiles to Spott
Follow the regular [export](/exports) steps and select **Export to Spott** on either an individual profile or a bulk export. After exporting, you will see the profile created in your Spott account.
### View profiles already in Spott
Juicebox will tag profiles that already exist in Spott. You will see the last modified date, as well as the option to view the profile directly in Spott by clicking the **View in ATS** button.
## Create an API key in Spott
1. Log in to your Spott dashboard at `app.gospott.com`.
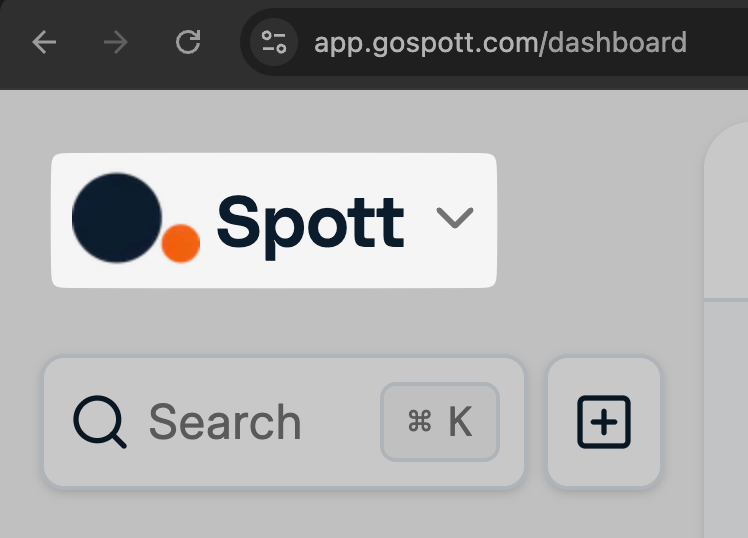
2. Click the Spott logo in the top left corner.
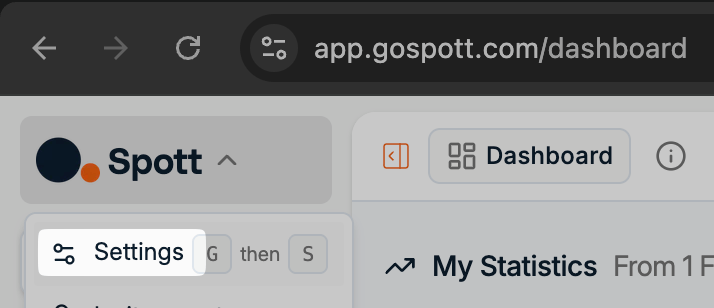
 3. Click **Settings**.
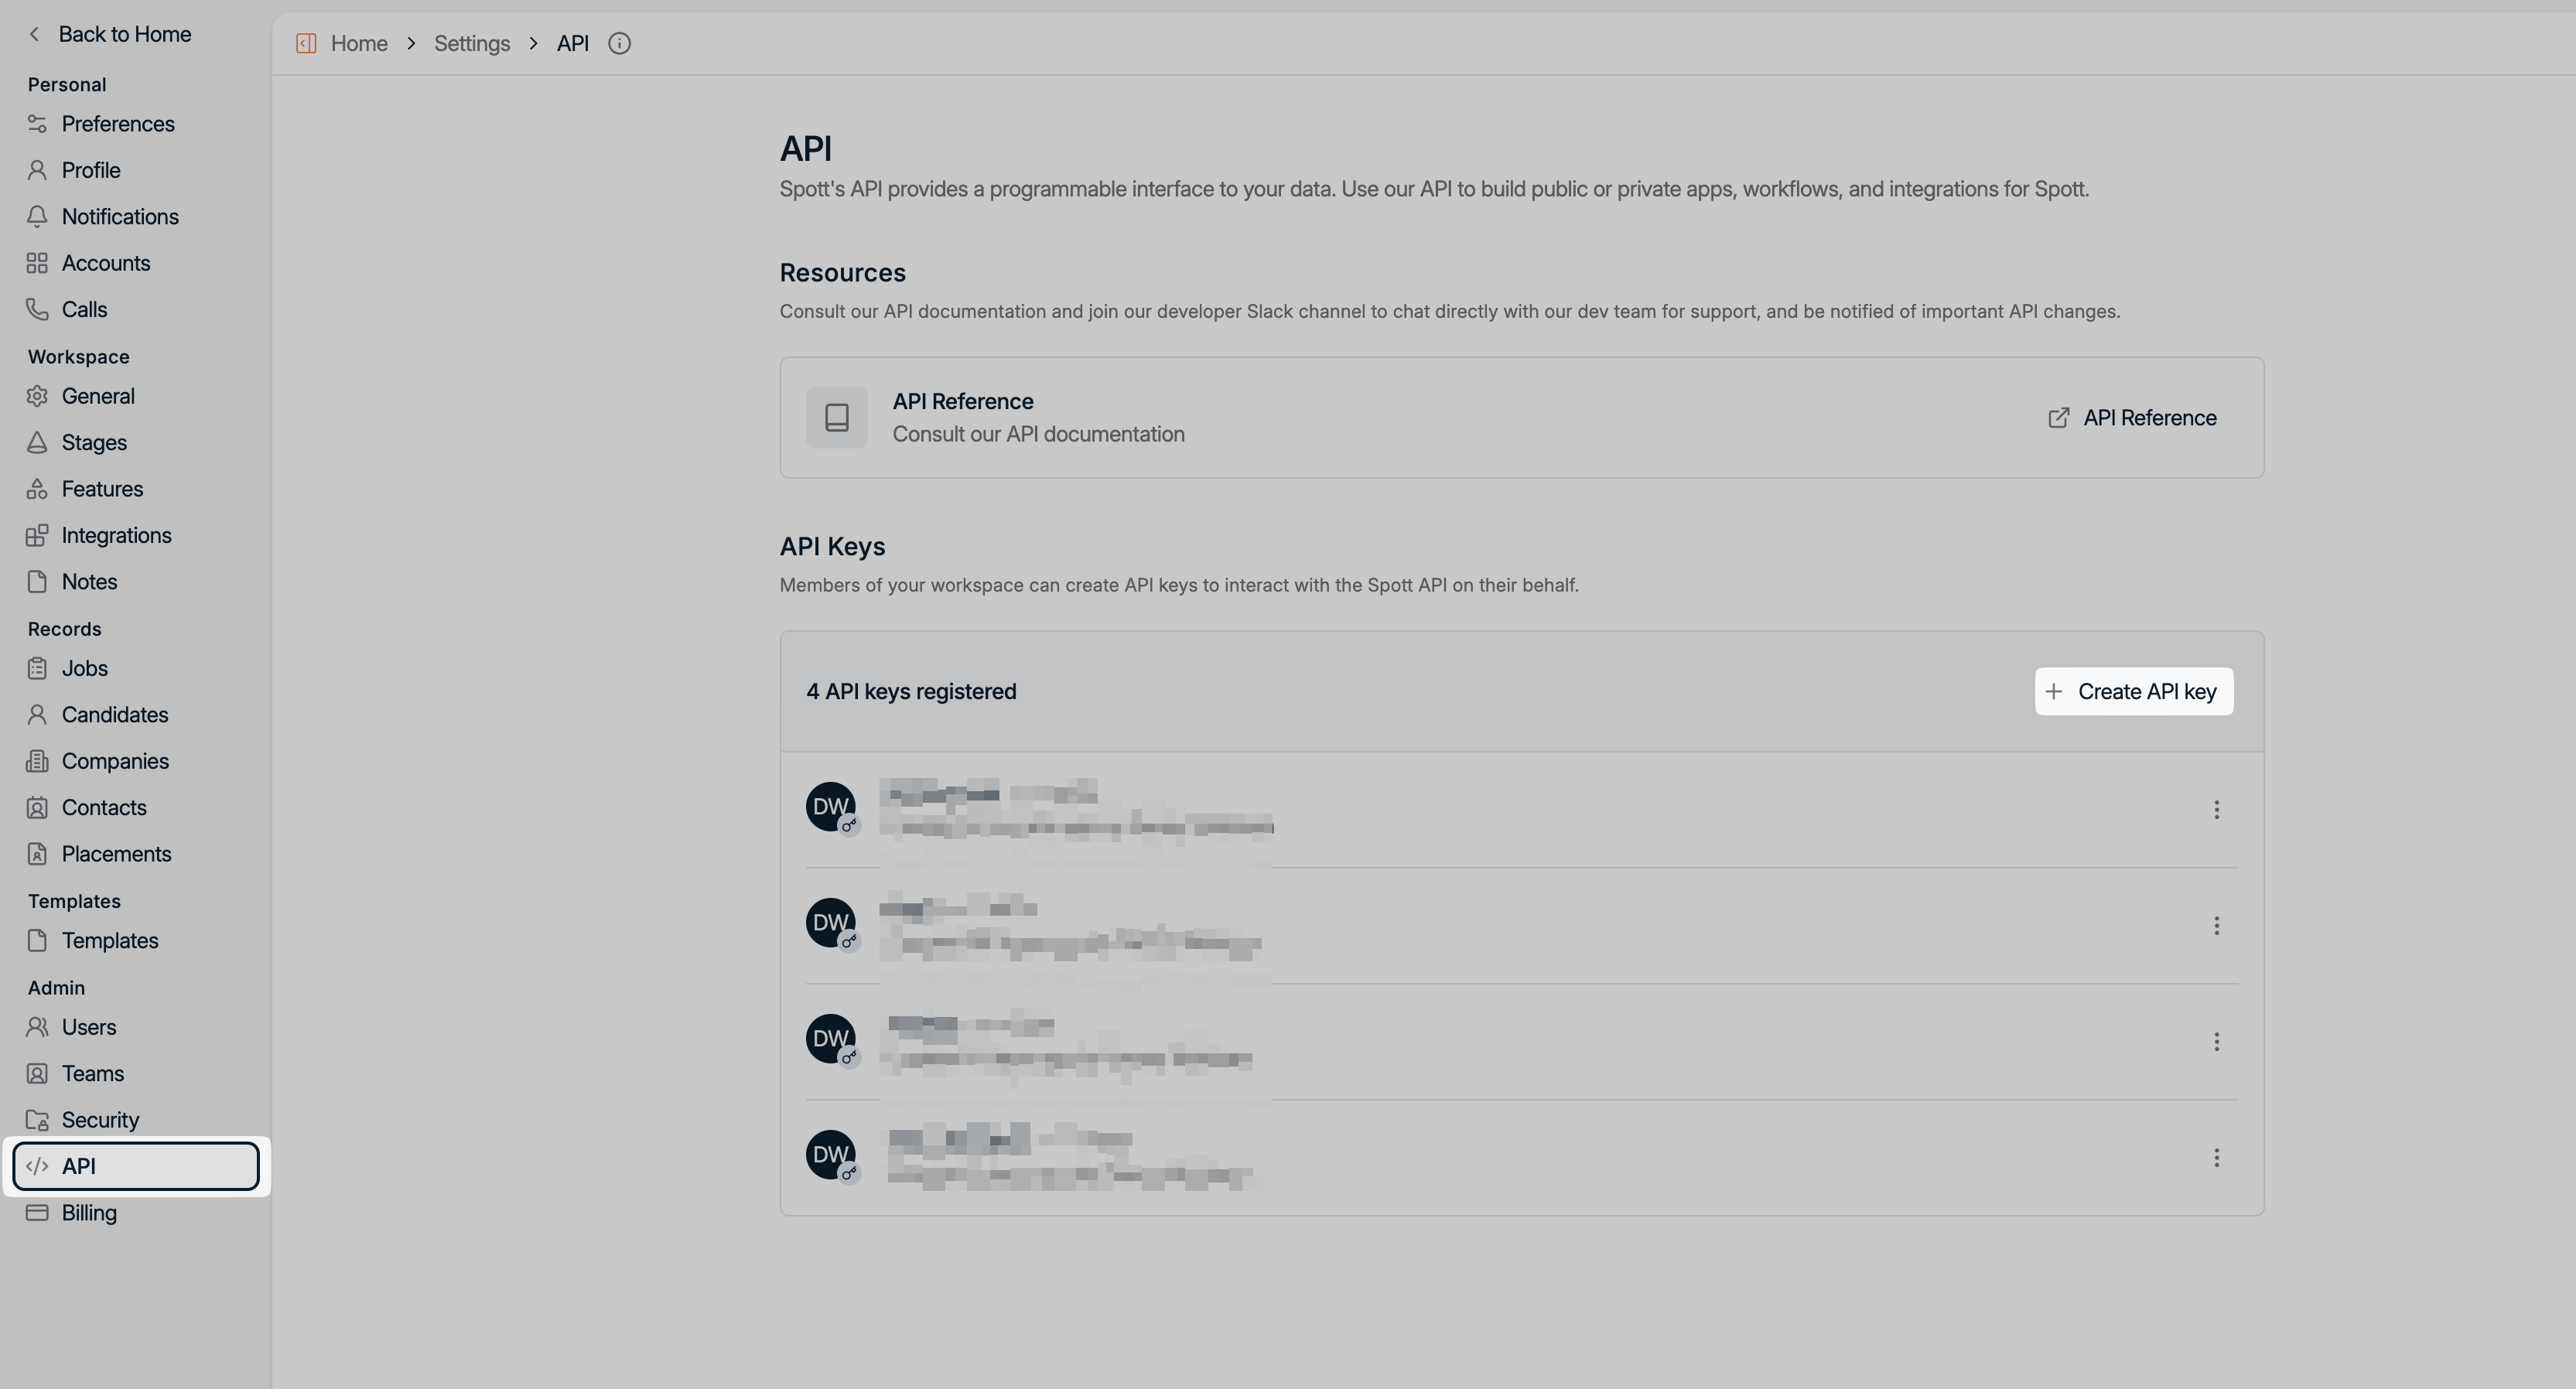
 4. Click **API** in the bottom left, then click **+ Create API Key**.
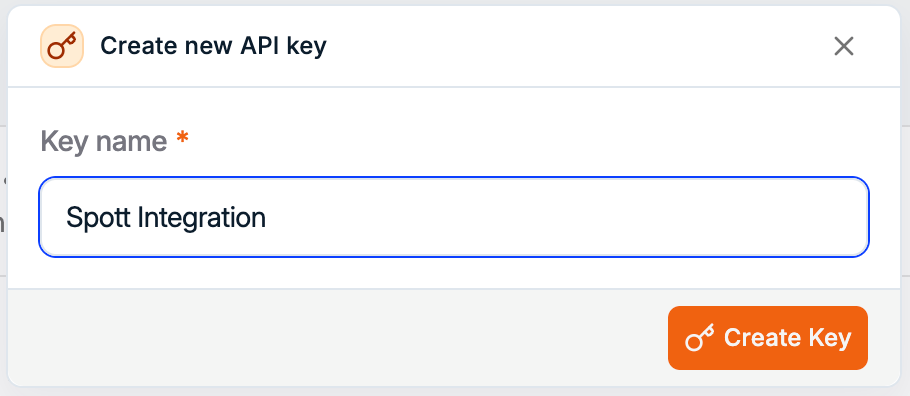
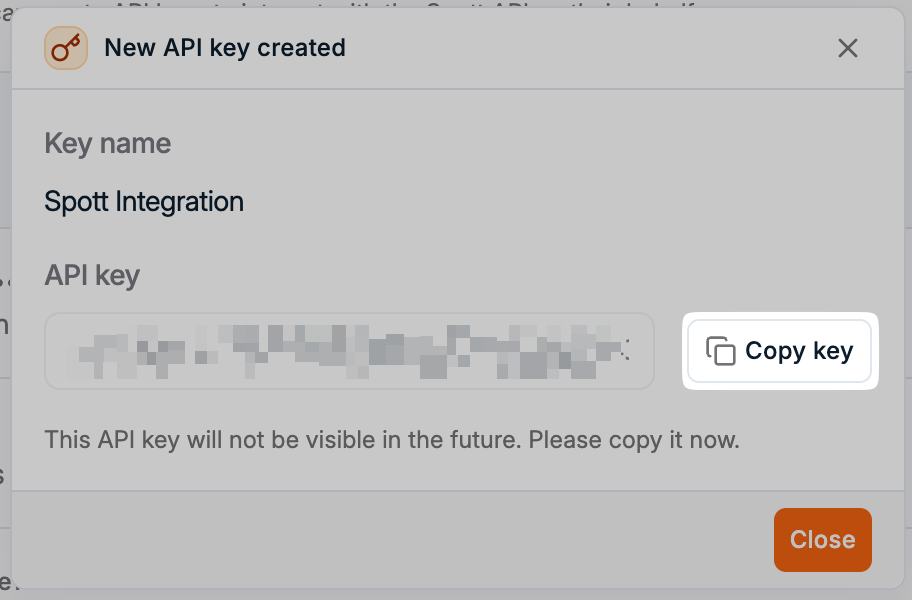
 5. Give the API key a name and click **Create Key**.
 6. Click **Copy key** and keep it somewhere safe. You paste it into the connection pop-up in the next section.
 ## Setting up the integration
1. Navigate to the **Integrations** tab on the Juicebox platform.
2. Select **Spott** and click **Activate**. You can also use the search bar at the top.
3. Follow the instructions in the connection pop-up, pasting your API key when prompted.
4. After you have clicked through the remaining pages of the pop-up, the configuration will be completed. If successful, you will see a green **Connected** button in your Integrations marketplace.
Congratulations! You have successfully integrated Spott and Juicebox.
It may take a few minutes for all data to sync between Juicebox and Spott.
## Support
For an overview of all integration features, see [ATS Integrations](/ats-integrations). If you're facing any issues with your integration, contact our support team at [support@juicebox.ai](mailto:support@juicebox.ai).
## Setting up the integration
1. Navigate to the **Integrations** tab on the Juicebox platform.
2. Select **Spott** and click **Activate**. You can also use the search bar at the top.
3. Follow the instructions in the connection pop-up, pasting your API key when prompted.
4. After you have clicked through the remaining pages of the pop-up, the configuration will be completed. If successful, you will see a green **Connected** button in your Integrations marketplace.
Congratulations! You have successfully integrated Spott and Juicebox.
It may take a few minutes for all data to sync between Juicebox and Spott.
## Support
For an overview of all integration features, see [ATS Integrations](/ats-integrations). If you're facing any issues with your integration, contact our support team at [support@juicebox.ai](mailto:support@juicebox.ai).